Creamy Garlic Mushroom Salmon: A Restaurant-Style Delight!
Recipes 18/04/2025 00:01
Perfect for: Breakfast, brunch, or as a sweet treat
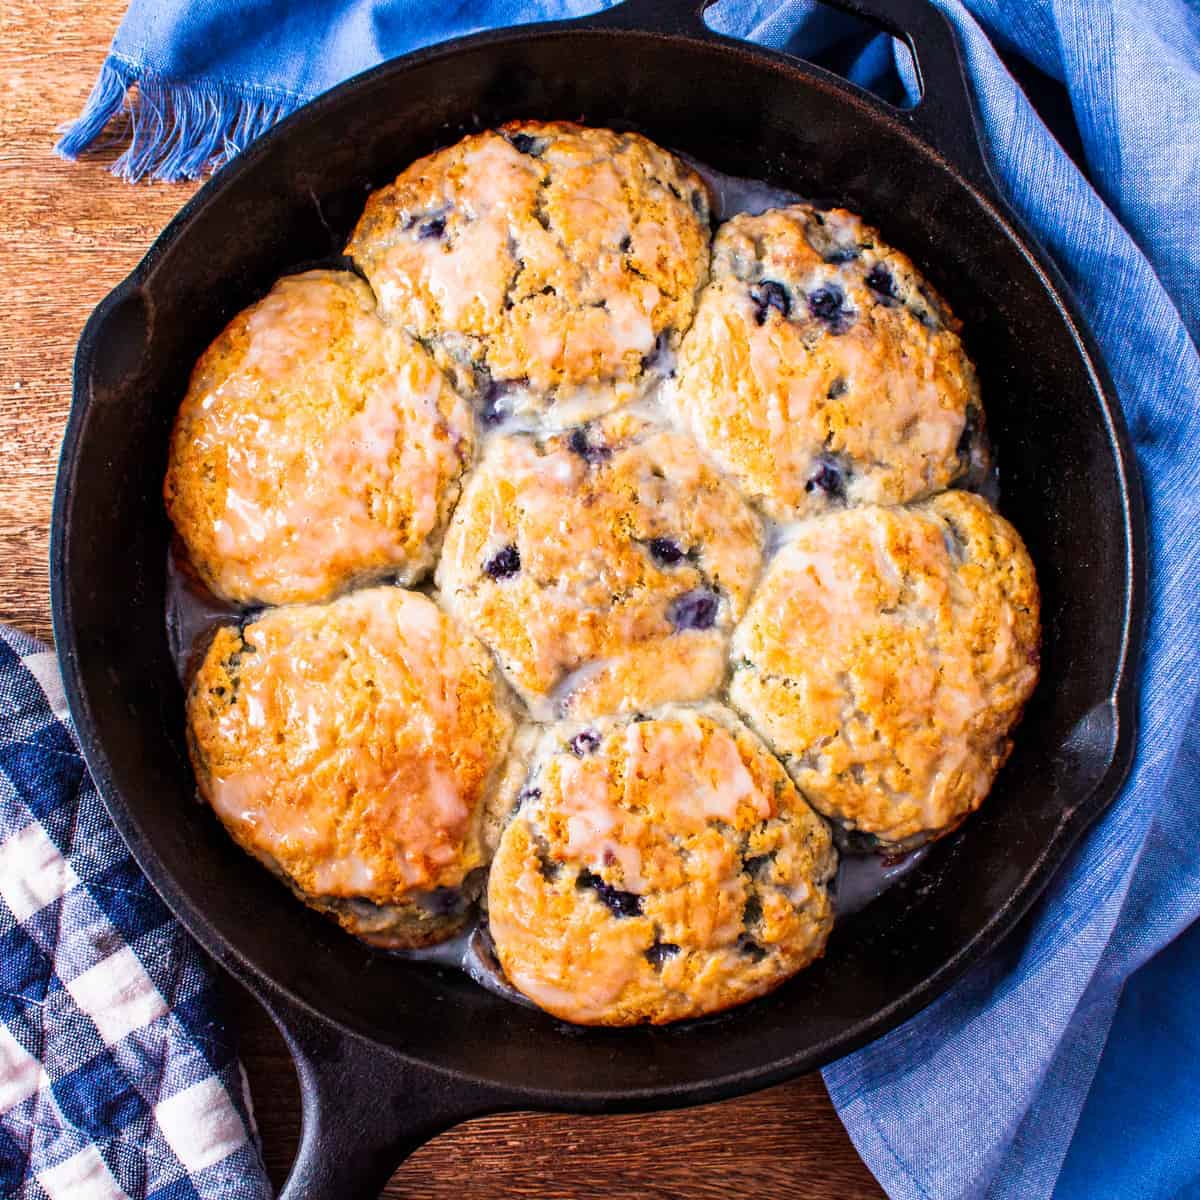
Yields: 10–12 biscuits
Prep Time: 15 minutes
Cook Time: 15–18 minutes
Total Time: ~30–35 minutes
Calories per biscuit: ~200–250 kcal (depending on size)
2 cups all-purpose flour
2 tablespoons granulated sugar
1 tablespoon baking powder
½ teaspoon salt
6 tablespoons unsalted butter, cold and cut into small cubes
1 cup fresh blueberries (or frozen, but don’t thaw)
¾ cup buttermilk (or substitute with ¾ cup milk + 1 tablespoon lemon juice or vinegar)
1 teaspoon vanilla extract
½ cup powdered sugar
1–2 tablespoons fresh lemon juice (or milk, for a milder flavor)
½ teaspoon vanilla extract (optional)
Preheat your oven to 425°F (220°C).
Line a baking sheet with parchment paper or a silicone baking mat. Set aside.
In a large mixing bowl, whisk together the flour, granulated sugar, baking powder, and salt. This helps ensure the dry ingredients are evenly distributed and prevents clumping.
Add the cold butter cubes to the dry ingredients. Use a pastry cutter, two forks, or your fingers to cut the butter into the flour mixture until it resembles coarse crumbs. You should still see small pea-sized pieces of butter in the mixture.
It’s important to keep the butter cold to ensure flaky biscuits.
Gently fold in the blueberries into the flour-butter mixture. Be careful not to crush the berries, especially if using fresh ones. If using frozen blueberries, fold them in carefully while they are still frozen to prevent them from turning the dough blue.
In a separate small bowl, combine the buttermilk and vanilla extract.
Pour the wet ingredients into the dry ingredients, and stir gently with a wooden spoon or spatula until just combined. The dough will be slightly sticky, but do not overwork it. Overmixing can make the biscuits dense instead of light and fluffy.
Turn the dough out onto a lightly floured surface and gently knead it about 3–4 times, just to bring the dough together.
Pat the dough into a rectangle that is about 1 inch thick.
Use a biscuit cutter, cookie cutter, or the rim of a glass (about 2–3 inches in diameter) to cut out the biscuits. Gently press the cutter into the dough without twisting it, as twisting can prevent the biscuits from rising properly.
Gather any remaining dough, re-pat it, and cut out more biscuits. This will make about 10–12 biscuits depending on the size of your cutter.
Place the biscuits onto the prepared baking sheet, leaving a little space between each biscuit.
Bake in the preheated oven for 15–18 minutes or until the tops are golden brown and a toothpick inserted into the center comes out clean.
Remove the biscuits from the oven and allow them to cool slightly on the baking sheet.
While the biscuits are cooling, make the glaze. In a small bowl, whisk together the powdered sugar, lemon juice, and vanilla extract (if using). Adjust the consistency by adding more sugar or lemon juice until it reaches your desired consistency for drizzling.
Drizzle the glaze over the warm biscuits for an extra burst of sweetness and flavor.
Serve the biscuits warm, with or without the glaze. They’re perfect as-is, but you can also enjoy them with a bit of butter or jam.
Cold Butter: Make sure your butter is cold and cut it into small cubes before adding it to the flour. This helps create flaky layers in the biscuits.
Don’t Overmix the Dough: Once you add the wet ingredients, stir gently and just until combined. Overworking the dough will lead to dense biscuits.
Freezing the Dough: If you want to prepare the biscuits in advance, you can freeze the shaped dough before baking. Place the cut biscuits on a baking sheet, freeze until solid, and then store them in an airtight container or freezer bag. Bake from frozen at the same temperature but add an extra couple of minutes to the bake time.
Frozen Blueberries: If you use frozen blueberries, there’s no need to thaw them first. Just fold them into the dough while still frozen to prevent them from turning the dough purple.
Make Them Savory: If you prefer savory biscuits, simply omit the sugar and glaze, and add some shredded cheddar cheese or chopped herbs like rosemary or thyme to the dough for a savory twist.
Room Temperature: These biscuits are best served fresh but can be stored in an airtight container at room temperature for 2–3 days.
Freezing: If you want to freeze the biscuits for later, wrap them tightly in plastic wrap and store in a freezer bag for up to 3 months. To reheat, bake at 350°F (175°C) for about 10 minutes until warmed through.
Blueberry lovers who enjoy the sweet burst of fruit in every bite.
Biscuit fans who crave a soft, flaky, and buttery texture in their baked goods.
Brunch enthusiasts who want a fun, sweet addition to their breakfast table.
Anyone who enjoys fresh, homemade biscuits with a touch of sweetness!