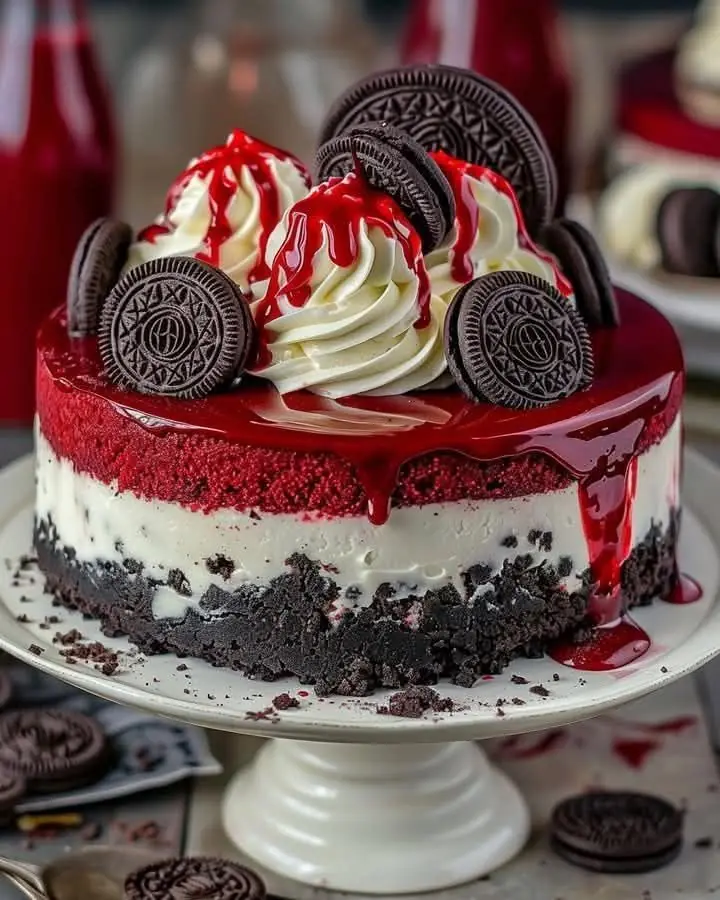
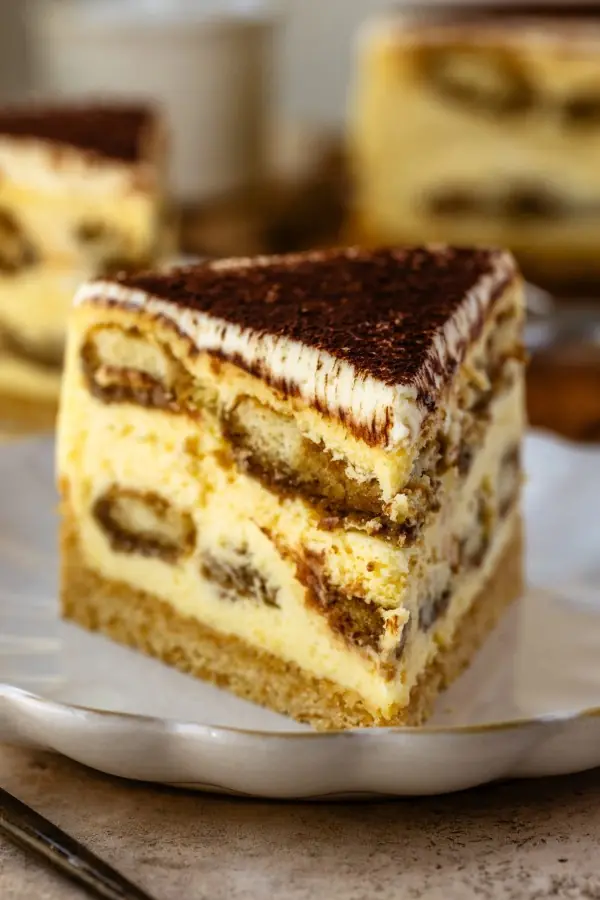
Tiramisu Ice Cream Cake – A Chilled Twist on the Classic Italian Dessert! 🍦✨
Servings: 8-10 | Prep Time: 20 minutes | Freeze Time: 4-6 hours
Calories per slice: Approximately 300-350 calories (depending on portion size)
Tip:
This Tiramisu Ice Cream Cake combines the best of both worlds—a rich, creamy tiramisu flavor in a chilled, no-bake ice cream cake. With coffee-soaked ladyfingers, mascarpone-flavored ice cream, and a dusting of cocoa, this dessert delivers all the classic tiramisu flavors in a refreshing frozen treat. It’s perfect for warm days, celebrations, or any time you want to indulge in a unique, Italian-inspired dessert!
Ingredients:
-
1 pint (2 cups) vanilla or mascarpone-flavored ice cream, softened 🍦
-
1 pint (2 cups) coffee ice cream, softened ☕
-
20–24 ladyfinger cookies (savoiardi) 🍪
-
½ cup strong brewed coffee (cooled) ☕
-
2 tbsp coffee liqueur or espresso (optional) 🍸
-
2 tbsp cocoa powder 🍫
-
¼ cup mini chocolate chips or chocolate shavings (optional) 🍫
-
Whipped cream, for topping 🧴
Instructions:
1. Prepare the Ladyfingers:
-
In a shallow dish, pour the cooled brewed coffee. If using, add the coffee liqueur or espresso and stir to combine.
-
Quickly dip the ladyfinger cookies into the coffee mixture, making sure each cookie is soaked but not soggy.
-
Arrange the soaked ladyfingers in the bottom of a 9-inch springform pan or cake pan to form the first layer. You may need to break some ladyfingers to fit the base.
2. Layer the Ice Cream:
-
Scoop the softened vanilla or mascarpone-flavored ice cream into a mixing bowl and stir it until smooth.
-
Spread half of the vanilla ice cream over the layer of soaked ladyfingers, smoothing it out evenly with a spatula.
-
Follow with a layer of coffee ice cream, smoothing it out evenly on top of the vanilla layer.
-
Repeat the layers if necessary, depending on the size of your pan and the amount of ice cream.
3. Freeze the Cake:
-
After layering the ice cream, cover the cake tightly with plastic wrap or aluminum foil.
-
Place the cake in the freezer for at least 4-6 hours or until the ice cream is firm and set.
4. Decorate the Cake:
-
Once the ice cream cake is frozen and set, remove it from the freezer.
-
Dust the top with cocoa powder for the traditional tiramisu look.
-
Optionally, sprinkle the top with mini chocolate chips or chocolate shavings for added texture and flavor.
-
Add a generous dollop of whipped cream on top for a finishing touch.
5. Serve:
-
Carefully slice and serve the Tiramisu Ice Cream Cake. Enjoy the chilled layers of coffee-soaked ladyfingers and creamy ice cream—perfectly refreshing and indulgent!
Tips for Saving Energy:
-
No-bake dessert: This ice cream cake requires no baking, saving energy while still delivering a rich and indulgent treat.
-
Prepare the cake in advance and store it in the freezer for easy serving without the need for extra energy usage.
Who Should Enjoy This Cake?:
-
Coffee and tiramisu lovers will adore this frozen twist on the classic dessert.
-
Ideal for hot summer days, birthday parties, or any special occasion where you want to impress guests with a creamy, flavorful dessert.
-
A great treat for those who love no-bake desserts that are easy to assemble and fun to enjoy.
Who Should Avoid It?:
-
If you have a caffeine sensitivity, you can substitute the coffee with decaf coffee or milk to make a non-caffeinated version.
-
People with a gluten intolerance can use gluten-free ladyfinger cookies to make the cake gluten-free.
Enjoy the Tiramisu Ice Cream Cake, a refreshing and indulgent dessert that combines all the rich flavors of classic tiramisu with a frozen, creamy twist! Perfect for any occasion where you want to treat yourself to something special!