Creamy Garlic Mushroom Salmon: A Restaurant-Style Delight!
Recipes 18/04/2025 00:01
Perfect for: Potlucks / Weeknight desserts / Family gatherings
Yields: 10–12 servings
Prep Time: 10 minutes
Bake Time: 45–50 minutes
Cool Time: 15 minutes before serving
Total Time: ~1 hour
Calories per serving: ~350–400 kcal
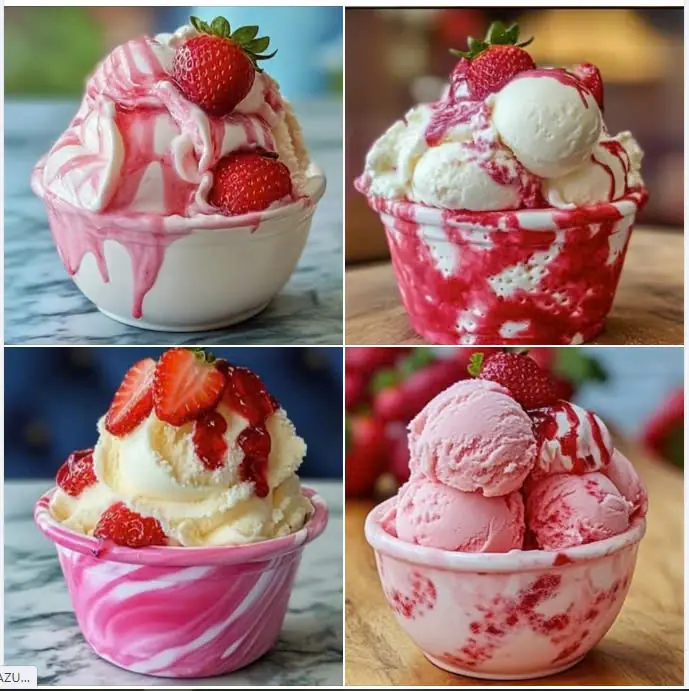
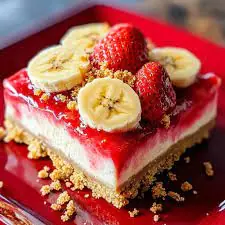
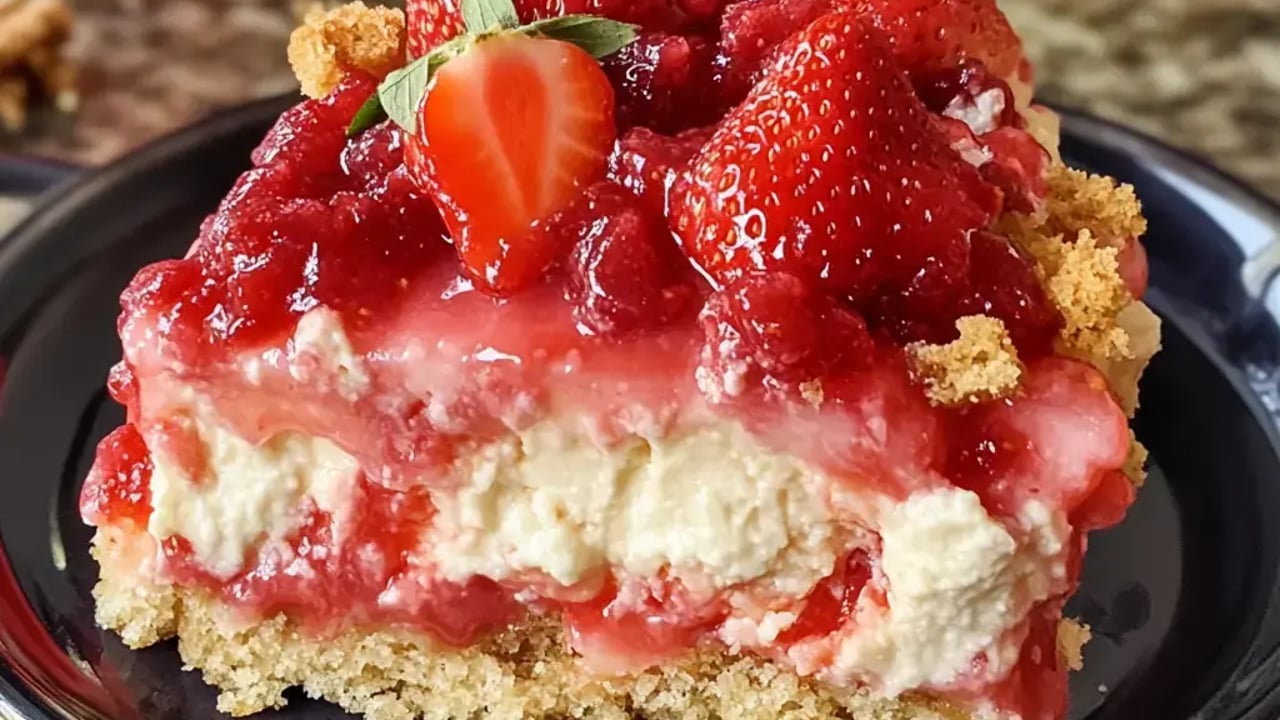
2 cans (21 oz each) strawberry pie filling
Optional: 1–2 cups fresh sliced strawberries for texture and brightness
Optional: 1 tablespoon lemon juice or zest for extra zing
1 package (8 oz) cream cheese, softened
½ cup granulated sugar
1 large egg
1 teaspoon vanilla extract
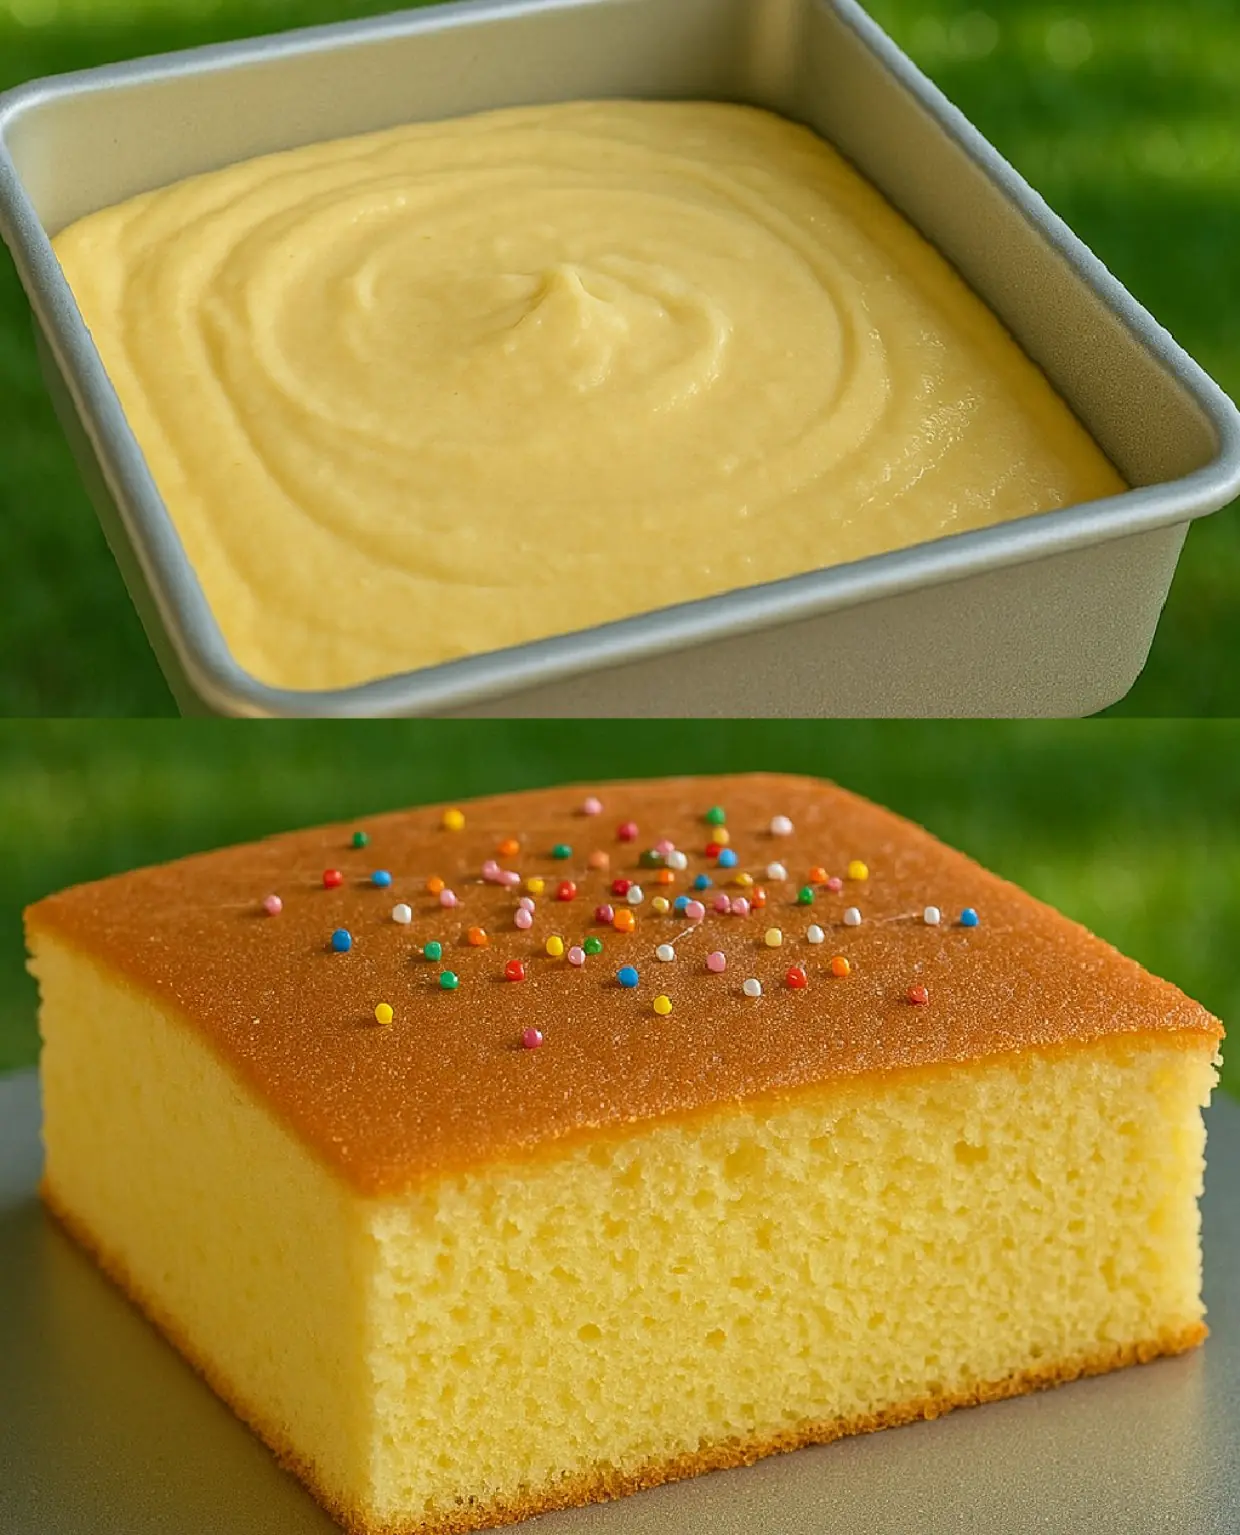
1 box vanilla cake mix (yellow or white cake mix also works)
1 stick (½ cup) unsalted butter, melted
Optional: ¼ cup milk (to drizzle if needed for extra moisture)
Powdered sugar for dusting
Whipped cream or vanilla ice cream
Fresh strawberries or freeze-dried strawberries for garnish
Preheat your oven to 350°F (175°C).
Lightly grease a 9x13 inch baking dish with butter or non-stick spray.
Spread the strawberry pie filling evenly across the bottom of the baking dish.
If using fresh strawberries, mix them in now for extra freshness and texture.
For a bright flavor, stir in lemon juice or zest.
In a mixing bowl, beat together the softened cream cheese and sugar until smooth.
Add the egg and vanilla extract, and beat again until creamy and combined.
Dollop the cheesecake mixture over the strawberry layer. Use a spoon or spatula to swirl it gently – don’t fully mix it in; leave visible swirls for that "cheesecake" effect.
Sprinkle the dry cake mix evenly over the entire dish. No need to mix!
Pour the melted butter evenly over the cake mix layer. Try to cover as much of the dry mix as possible.
If you notice dry patches, lightly drizzle with a few tablespoons of milk or use a spoon to gently press those areas.
Place the dish in the preheated oven and bake for 45–50 minutes, or until:
The top is golden brown,
The edges are bubbly,
And the cheesecake layer is set (a slight jiggle in the center is okay).
Remove from the oven and allow to cool for 15–20 minutes before serving.
Serve warm with whipped cream, ice cream, or a dusting of powdered sugar.
Don’t stir the layers! The “dump” magic happens because each layer cooks into the others, creating a gooey bottom and crumbly top.
Want extra flavor? Add a few tablespoons of strawberry preserves to the pie filling or a splash of almond extract to the cheesecake mixture.
More texture? Add ½ cup chopped pecans or walnuts to the cake topping before baking.
Gluten-Free? Use a gluten-free vanilla cake mix.
Refrigerator: Store leftovers covered in the fridge for up to 3–4 days.
Reheating: Warm individual servings in the microwave for 15–30 seconds for that fresh-from-the-oven taste.
Freezer: This cake freezes well! Wrap tightly and freeze for up to 2 months. Thaw in fridge overnight and warm before serving.
Anyone who loves fruit cobblers or cheesecakes.
Fans of rich, layered desserts that are easy to make.
Kids, party guests, or just yourself on a cozy night in!